How to Crochet a Flower
A crochet flower is one of the most rewarding small projects you can pick up. The simplest five-petal motif takes about ten minutes once you have the rhythm, and the same starting round can grow into a flat appliqué, a granny-square center, or a layered puff bloom. This walkthrough covers the round-by-round flat-flower construction, what gauge and yarn weight work best, and how to swap petal shapes without redrafting the whole pattern.
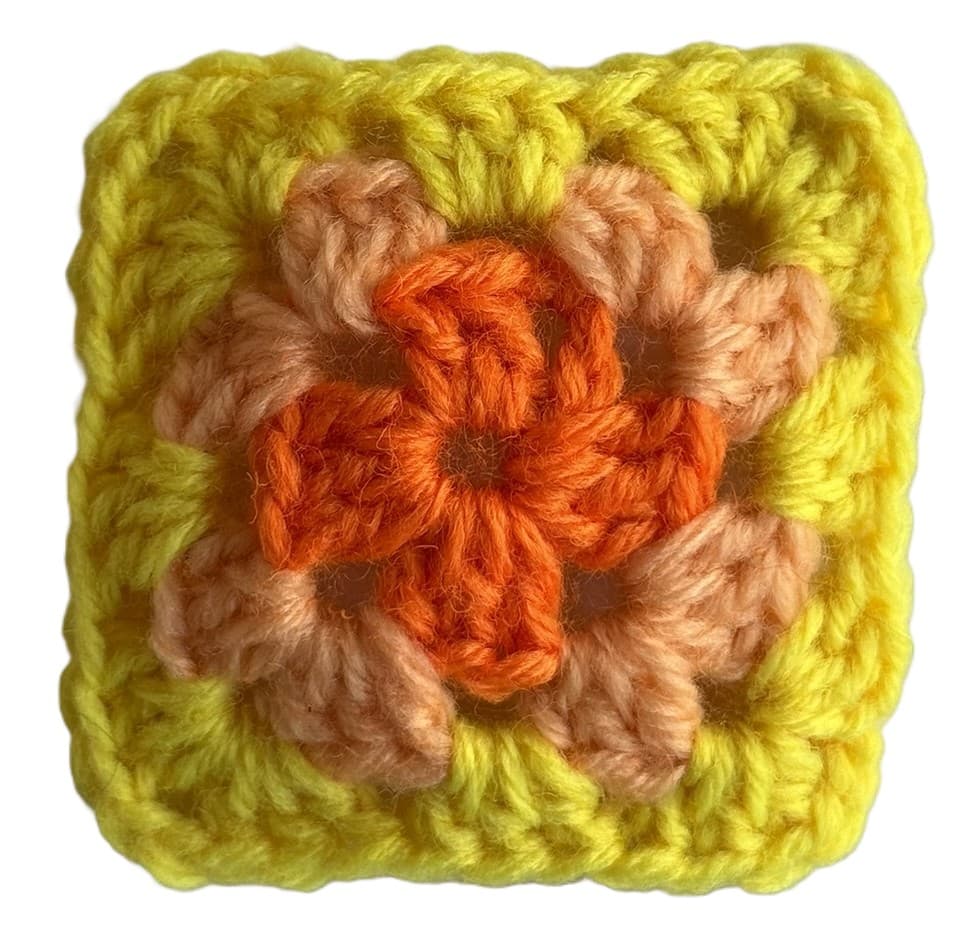
What you need
- Worsted weight or DK yarn in two contrasting colors (one for the center, one for the petals). About 6–10 yards is enough for a single small flower.
- A 3.5–4.5 mm crochet hook. Smaller hooks give a denser, more sculptural bloom; larger hooks make a softer, more lacy flower.
- Tapestry needle for weaving in ends. The center round leaves at least two yarn tails per color — plan to weave them inside the petals so the back stays flat.
- Stitch markers are optional but useful if you want to pause mid-round and not lose your spot. Any contrasting scrap of yarn works as a marker.
Round-by-round steps
- Start with a magic ring (also called a magic circle) in your center color. If you are new to magic rings, leaving a 4-inch tail and wrapping the yarn twice gives you something easier to cinch closed later.
- Round 1: ch 1, then work 10 single crochet stitches into the ring. Pull the tail to close the ring, slip stitch to join into a tight center disc.
- Fasten off the center color and weave in the tail through the back of the stitches. Pull tight enough to lock the disc but not so tight that it curls.
- Round 2 (petals): join the petal color in any sc with a slip stitch. For a 5-petal flower work *ch 2, dc, ch 2, slip stitch in the next sc* and repeat 5 times. The ch-2 spaces form the petal tips.
- For a fuller bloom, swap the simple *ch 2, dc, ch 2* petal for *ch 1, dc, tr, dc, ch 1* — the taller treble pulls the petal upward and gives the flower more dimension.
- Fasten off the petal color, weave in the tail through the back of the dc stitches, and block the flower flat by pressing it gently with steam or a warm iron. Blocking is what makes the petals lay flat against the fabric you sew it onto.
Tips for cleaner flowers
- Count center stitches before joining. Ten sc gives you exactly 5 petals — if you accidentally make 9 or 11, your spacing will be off and one petal will overlap the next.
- Pull the magic ring tail TIGHT before fastening off. A loose center round will gap open later and the petals will sag inward.
- Block before sewing on. An un-blocked flower curls; once blocked, it stays flat against a hat, a granny square, or a garland string.
- If your yarn frays, change to a smaller hook for the petal round. Tighter petals hide fuzzy yarn ends better than loose ones.
Three flower variations to try next
The same magic-ring start can carry several different petal arrangements. Once you have the 5-petal version down, these are the natural next steps:
Mini 5-Petal Flower
Two rounds, takes ~10 minutes once you have the rhythm. Magic ring, 5 spokes, 5 small fan petals. Finishes at about 2-3 cm — perfect for appliqué, garlands, or as a closure flower on a bag flap.
Use DK or sport weight yarn for this size. Worsted will work but reads chunky.
Six-Petal DC Flower
Add a third round of taller double-crochet petals around the original 5-petal base. The two-tier petal arrangement creates the classic 'rose' look popular in granny-square centers.
Use the same color as the center round for the outer DCs to keep the focus on the bloom — or switch to a third color for contrast.
Puff Stitch Flower
Replace each dc petal with a puff stitch (5 loops drawn through). The result is a heavy, dimensional bloom that looks like a real flower head. Slightly slower to make but visually impressive.
Puff stitches eat yarn fast — budget twice as much petal yarn as a simple dc flower.
Generate your own flower
CrochetPop has interactive charts for all three flower variations above. Pick a starting point, adjust the petal count and colors, and get a printable row-by-row pattern.
The four ways our flowers are built
Every flower in our garden uses one of four constructions. Knowing which is which helps you pick a pattern that matches your skills — and predict how the finished flower will behave.
Fan petals into chain spaces
A small spiral centre sets up chain spaces, then each petal is a fan of tall stitches worked into one space — the Forget-Me-Not's five treble-family petals. Fast, flat, and great for appliqué.
Graded fans sculpt the petal
Same construction, but the fan mixes stitch heights — hdc·dc·dc·dc·hdc makes the Buttercup's low dome, dc·tr·dc·tr·dc gives the Wild Rose its notched tip, hdc·dc·tr·dc·hdc gives the Apple Blossom one gentle peak. The stitch sequence IS the petal shape.
Leaf petals on a chain spine
Each petal starts as a chain 'spine' worked outward, then graded stitches dress both sides into a leaf blade — the Spine-Leaf Flower and the Edelweiss's woolly bracts. Pointed, botanical, slightly 3D.
Layered petals with front/back loops
The disc's rounds are worked into back loops only, leaving the front loops free — then petal rings bloom from those freed loops at different depths. This is how real layered daisies and gerberas stack petals with no sewing. Our Layered Daisy is growing soon in the garden.
🌼 Stroll the Flower Garden — every flower pattern, planted in one bed →